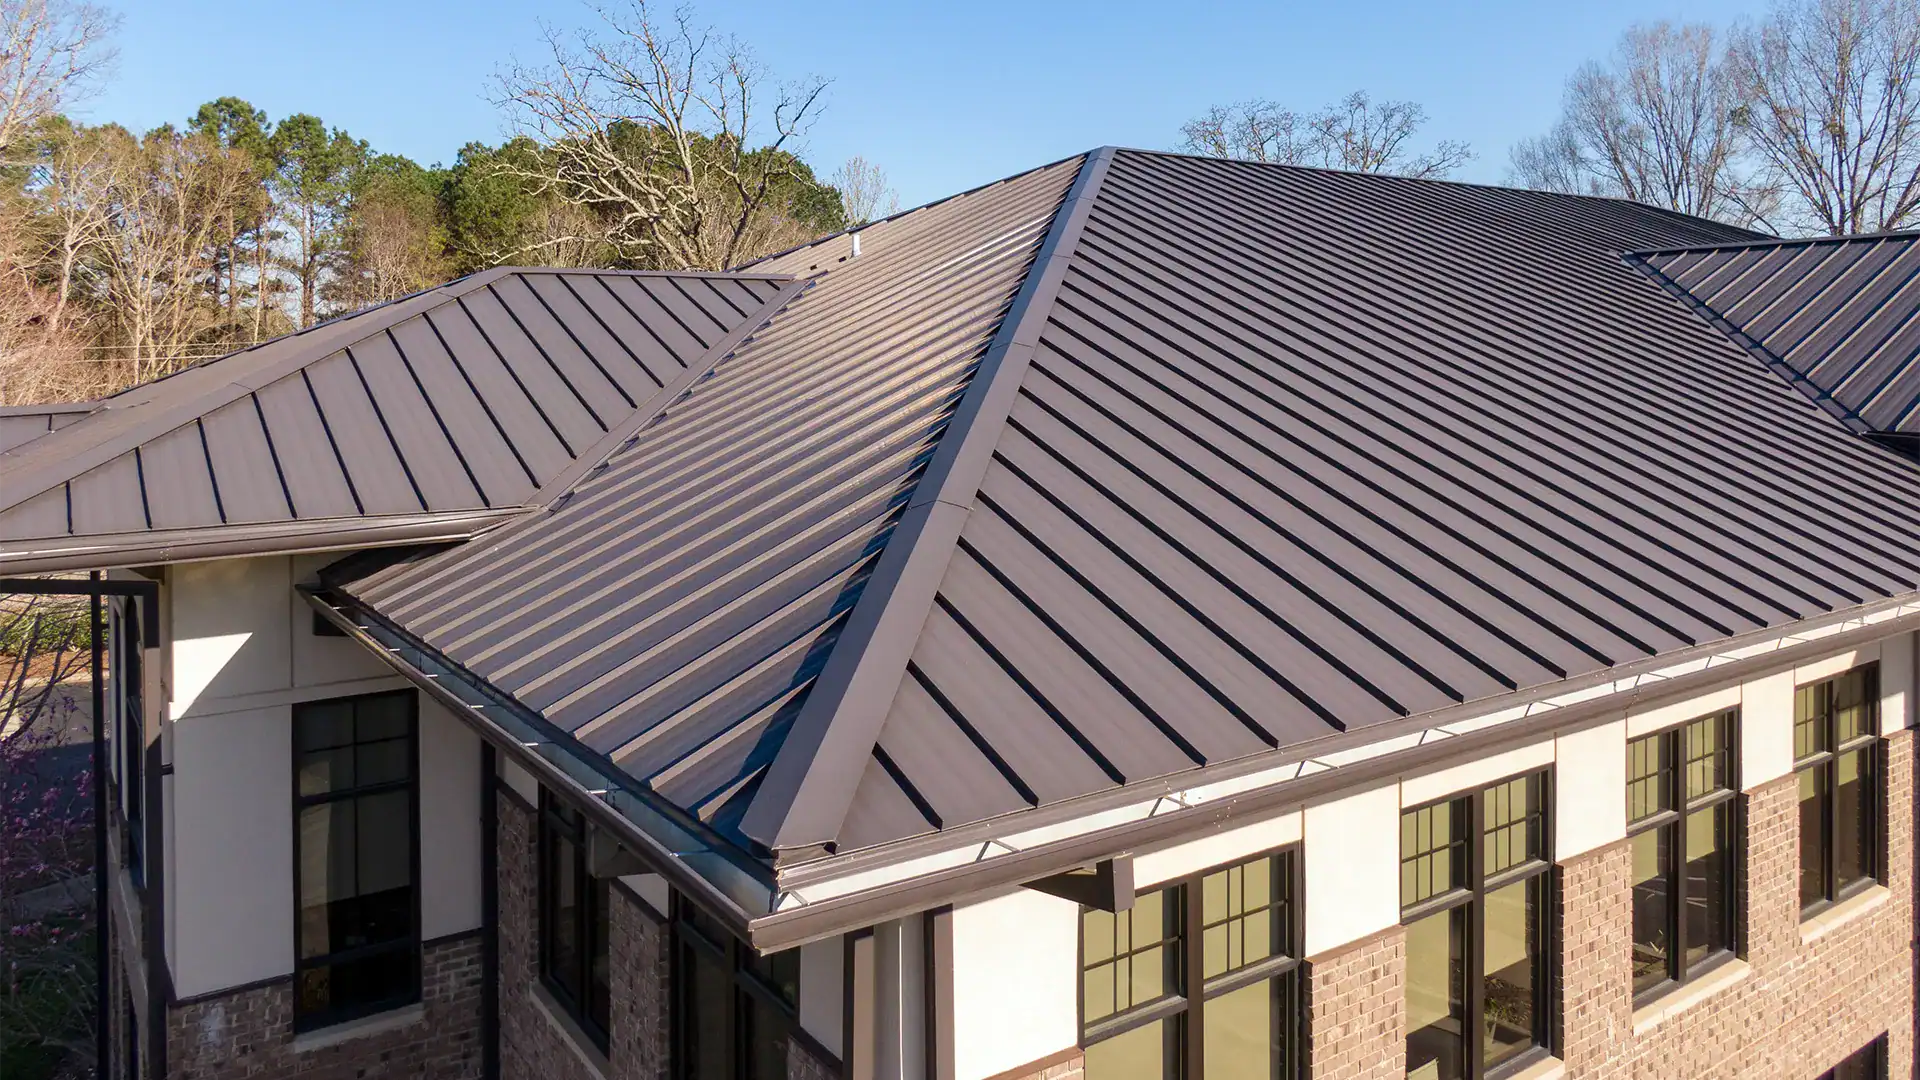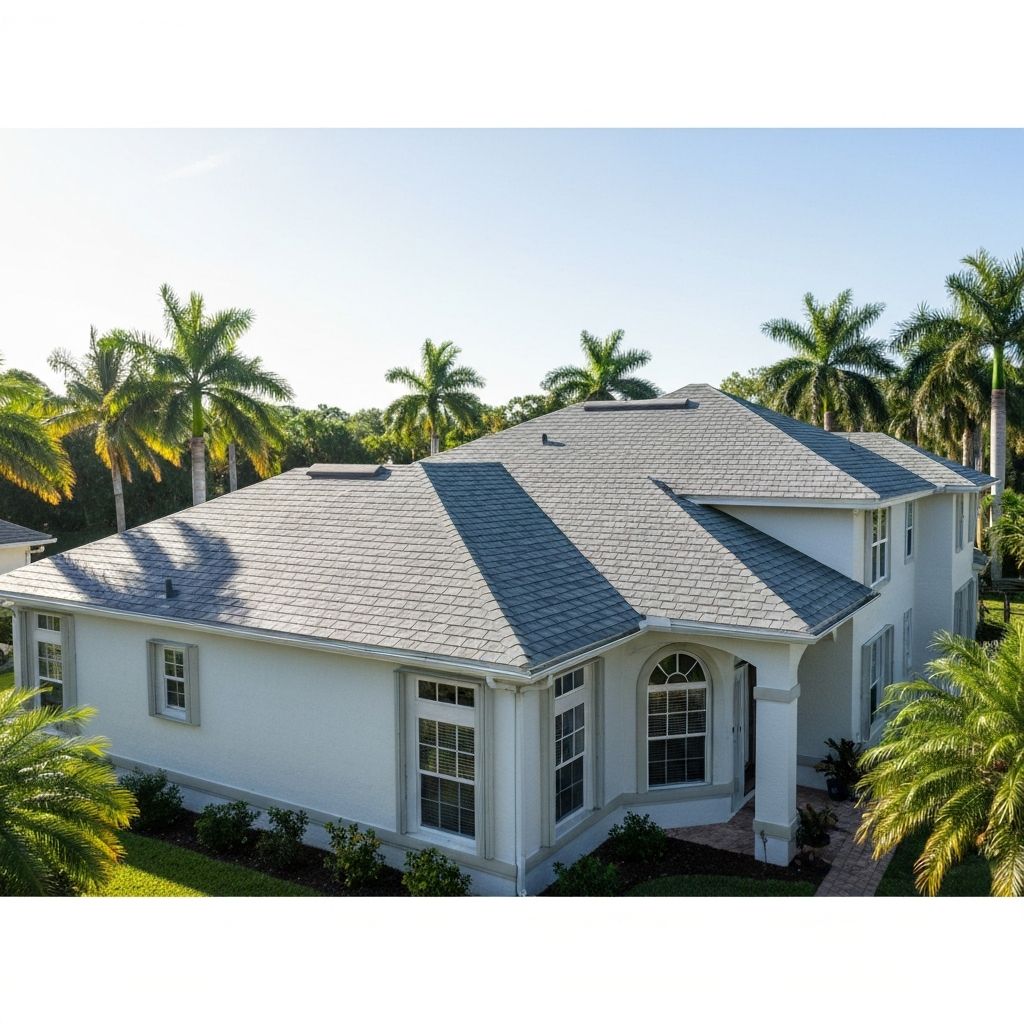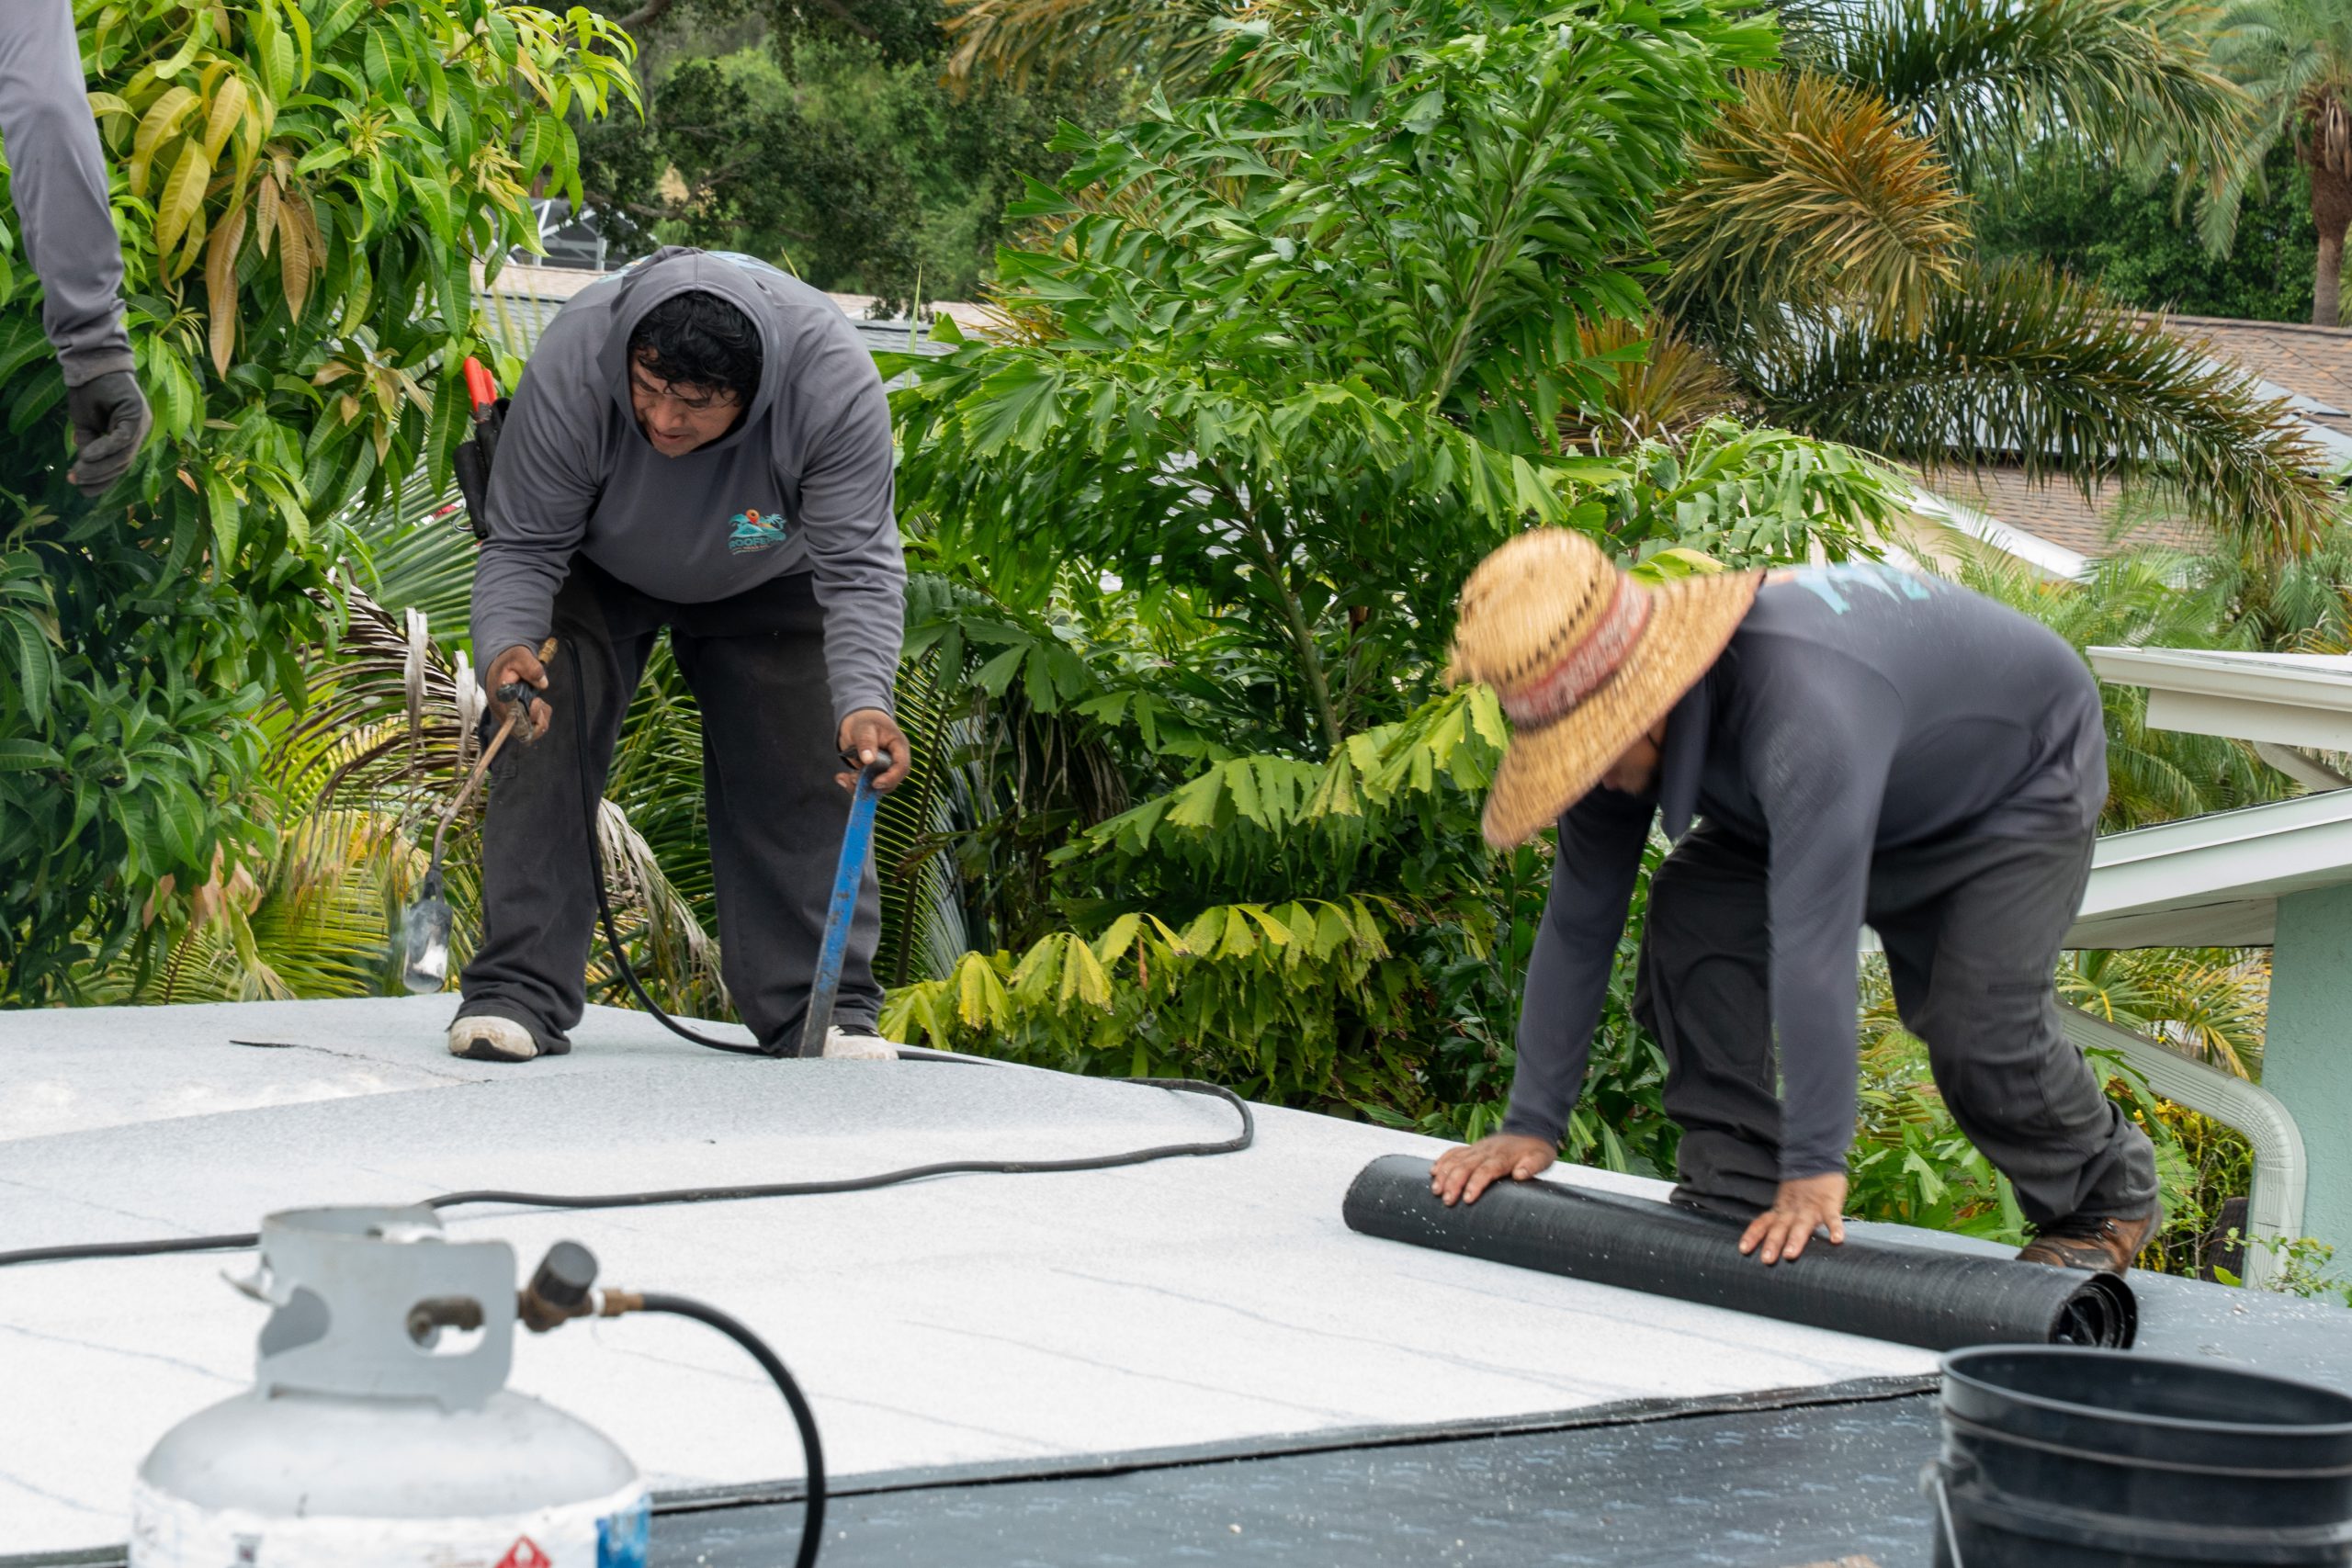

A new shingle roof is one of the biggest projects most homeowners ever take on. The good news: with a professional crew, the actual installation usually takes just one to three days. Knowing what happens on each of those days, and what you should do beforehand, makes the whole experience far less stressful.
This guide walks you through a professional shingle roof installation in Tampa Bay from the first estimate to the final inspection.
Quick answer
A professional shingle roof installation includes an inspection and estimate, a permit, removal of the old roof, decking repair, new underlayment and flashing, shingle installation, a final city or county inspection, and a full magnetic nail sweep. Most homes in Tampa Bay are finished in 1–3 days of on-site work.
Before installation day
1. Inspection and written estimate
Your roofer should measure the roof, check the attic for ventilation and moisture, and look for soft decking. The written estimate should list the shingle brand and line, the underlayment type, flashing and drip edge, ventilation, the cost to replace damaged decking, and the warranty.
2. Choosing your shingles
Most Tampa Bay homes use architectural (dimensional) asphalt shingles. For Florida, look for:
- A high wind rating from the manufacturer and Florida Product Approval.
- Algae-resistant granules to prevent black streaks.
- Lighter or “cool roof” colors if you want to reduce attic heat.
3. Permit
Your contractor pulls the reroof permit with your city or county. In Pinellas and Hillsborough counties, the roof must pass inspections before the job is closed out. The permit should be posted at your home before work begins.
4. Scheduling and weather
Your roofer will schedule around the forecast. During the summer rainy season, crews often start early and dry in the roof in sections so an afternoon storm doesn’t cause problems.
5. How to prepare your home
- Move cars out of the garage and driveway.
- Take down wall hangings and shelf items in upstairs rooms; hammering can shake them loose.
- Cover belongings in the attic with sheets to catch dust.
- Move patio furniture, grills, and potted plants away from the house.
- Mark sprinkler heads and let the crew know about pets and pool equipment.
- Tell your neighbors about the noise and dumpster.
Installation day: step by step
Step 1: Site protection
The crew places tarps over landscaping, plywood against windows and AC units if needed, and a dumpster or trailer close to the house. Good crews protect your property before a single shingle comes off.
Step 2: Tear-off
The old shingles, underlayment, and damaged flashing are stripped down to the wood deck. This is the loudest and messiest part of the job. Florida code generally requires removing the old roof rather than layering new shingles over it.
Step 3: Decking inspection and repair
With the deck exposed, the roofer checks every sheet of plywood for rot, soft spots, and delamination. Damaged sheets are replaced. The deck is then re-nailed to current Florida code, typically with ring-shank nails at tighter spacing to resist uplift in high winds. This is also when you’ll learn if any extra decking costs apply.
Step 4: Secondary water resistance and underlayment
Next comes the waterproof layer beneath the shingles. In Florida, this often means a self-adhered membrane over the whole deck or taped seams plus synthetic underlayment. This secondary water barrier keeps water out if shingles blow off in a storm, and it can qualify you for wind mitigation insurance credits.
Step 5: Drip edge, flashing, and valleys
Metal drip edge goes along the eaves and rakes to direct water into the gutters. New flashing is installed around walls, chimneys, skylights, and pipe penetrations, and valleys get extra protection since they carry the most water.
Step 6: Starter strip and shingles
A starter strip along the edges gives the first row of shingles a sealed edge that resists wind. The shingles are then installed row by row, using the number and placement of nails the manufacturer specifies for high-wind areas. Correct nailing is critical: shingles nailed too high or too few are a leading cause of blow-offs.
Step 7: Ventilation and ridge cap
Ridge vents, off-ridge vents, or other exhaust vents are installed along with new pipe boots. Ridge cap shingles finish the peaks. Balanced ventilation helps your attic run cooler and extends the life of the shingles.
Step 8: Cleanup
The crew removes debris, hauls away the dumpster, and runs magnetic sweepers across your lawn, driveway, and beds to pick up stray nails.
After installation
Final inspection
A county or city inspector checks the work before the permit is closed. Your roofer should also do their own walkthrough with you, explain what was done, and answer any questions.
Paperwork to keep
- Final invoice and signed contract
- Closed permit
- Manufacturer warranty registration
- Workmanship warranty
- Before, during, and after photos
These documents matter when you file an insurance claim, request a wind mitigation inspection, or sell your home.
Warranties explained
A manufacturer warranty covers defects in the shingles themselves. A workmanship warranty covers installation errors and comes from your roofer. Some manufacturers offer enhanced warranties that cover both when the roofer is a certified installer. Ask exactly what’s covered and for how long.
Wind mitigation inspection
A new roof with a sealed deck and upgraded nailing can qualify for insurance discounts. Schedule a wind mitigation inspection after the permit closes and send the report to your insurance agent.
Shingle roof installation FAQs
How long does it take to install a shingle roof?
Most residential shingle roofs in Tampa Bay are installed in 1–3 days. Large or complex roofs, extensive decking repairs, and rain delays can add time. Permitting and final inspection add days to weeks on either side.
Do I need to be home during the roof installation?
No, but it helps to be reachable by phone. Your roofer may need to show you decking damage or confirm decisions. Make sure the crew has access to power and the driveway.
Can you install new shingles over old ones in Florida?
Generally no. Florida code and most insurers expect a full tear-off so the deck can be inspected and brought up to current wind standards.
How much does a new shingle roof cost in Tampa Bay?
A typical 2,000 sq ft home costs about $12,000–$24,000 for an architectural shingle roof in 2026, depending on roof size, pitch, decking repairs, and code upgrades.
How long do architectural shingles last in Florida?
About 15–20 years in Tampa Bay’s climate, and longer with good ventilation, a lighter color, and regular maintenance.
What happens if it rains during my roof installation?
Professional crews only tear off as much as they can dry in the same day. If rain threatens, they cover exposed areas with underlayment or tarps before leaving.
Is a new roof noisy?
Yes, especially during tear-off and nailing. Most work happens during daytime hours; if you work from home or have pets sensitive to noise, plan to be elsewhere for part of the day.
Ready for a new shingle roof?
Roofers Near Me installs shingle roofs across Largo, Clearwater, St. Petersburg, Tampa, and the rest of Tampa Bay. Every job includes a permit, a written estimate with no surprises, code-compliant installation, and a full nail sweep.
Call (727) 439-1844 or schedule your free roof inspection.